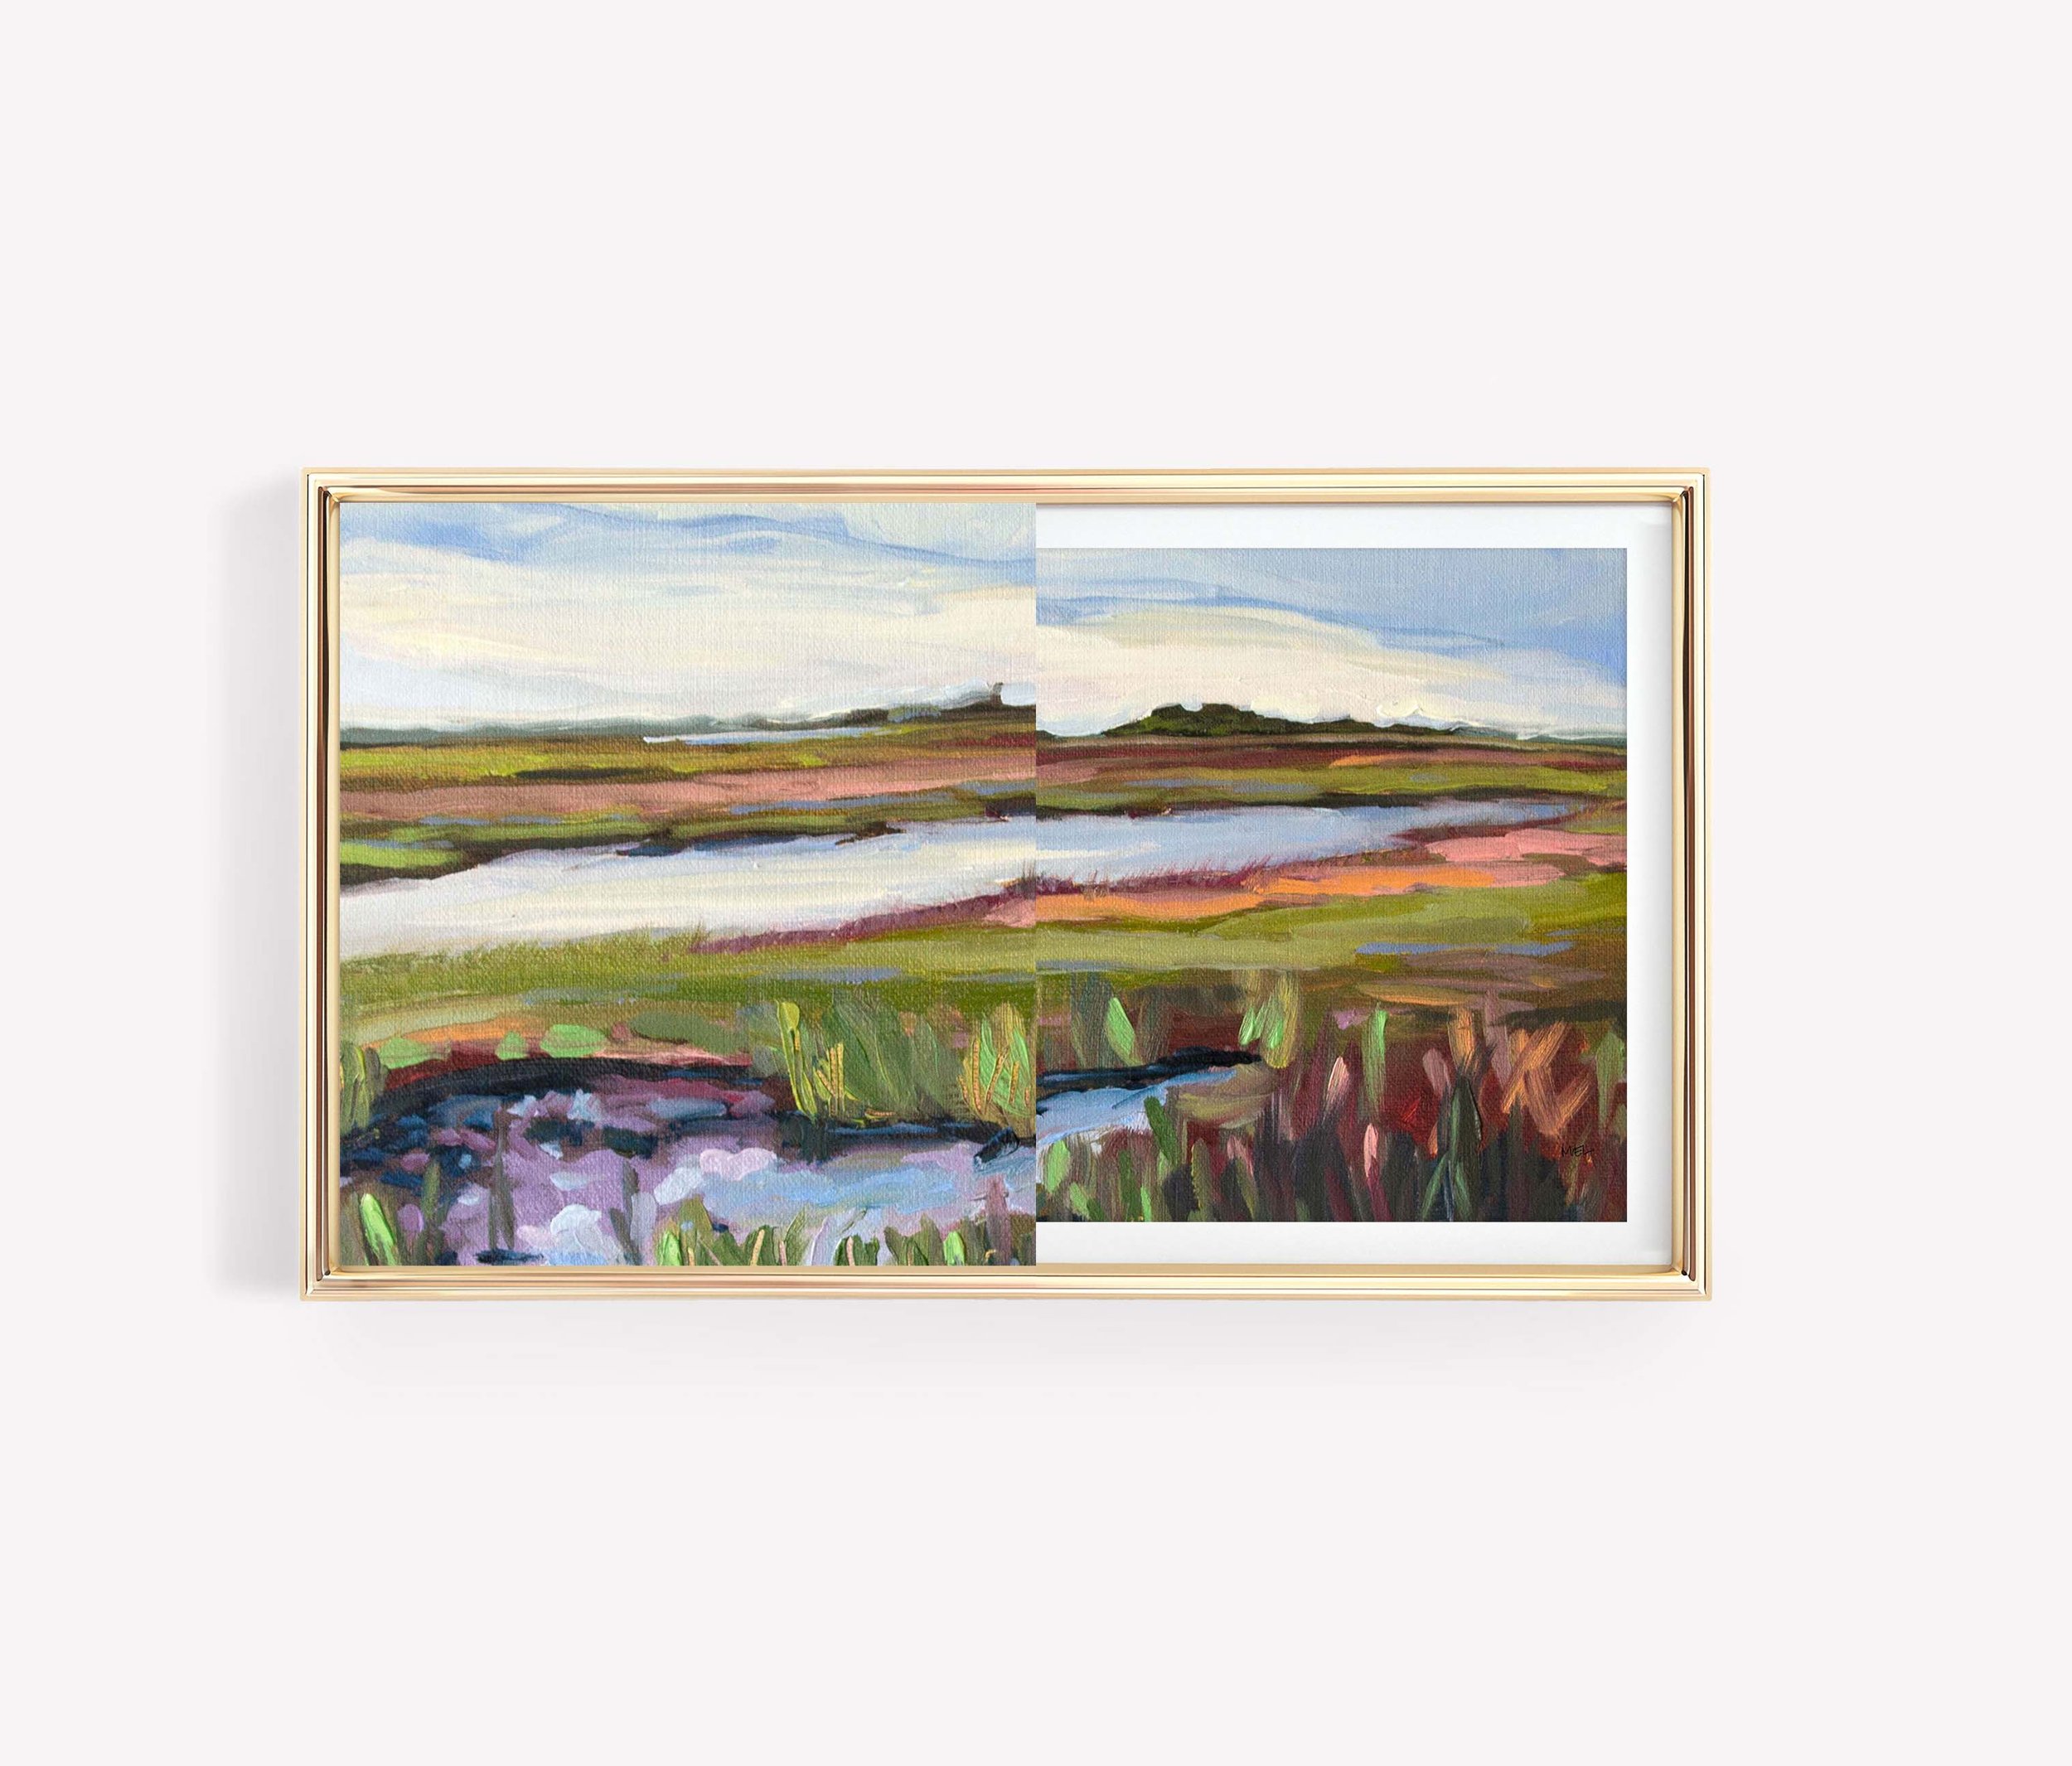
A Step-by-Step Guide to Adding Digital Art to Your Smart TV
This post may include affiliate links. That means if you click and purchase, I may earn a small commission at no extra cost to you. I only share products I truly love and would recommend anyway—thanks for supporting my work in this little way!
In today's digital age, smart TVs (we have this one in our family room) offer more than just entertainment—they also serve as dynamic platforms for showcasing captivating digital art. Whether you're a seasoned art enthusiast or simply looking to elevate your living space, adding digital art to your smart TV is a fantastic way to personalize your home decor and create a gallery-like atmosphere. In this guide, we'll walk you through the process of adding digital art to your smart TV, allowing you to transform your space with ease. Have a Samsung Frame TV? Follow my step by step guide here.
White Orchid, Floral Art Frame TV Digital Download
Step 1: Choose Your Digital Art
Before you begin, select the digital art pieces you'd like to display on your smart TV. Consider your personal style, the ambiance you want to create, and the overall aesthetic of your space. Whether you prefer serene landscapes, vibrant florals, or abstract compositions, choose artwork that resonates with you and complements your interior design.
Step 2: Transfer Your Digital Art to a USB Drive
Once you've chosen your digital art, transfer the files to a USB drive for easy access. Ensure that the files are compatible with your smart TV's supported formats (e.g., JPEG, PNG) and resolution requirements. Organize your artwork into folders on the USB drive to simplify navigation and selection on your smart TV.
Step 3: Connect Your USB Drive to Your Smart TV
Next, connect the USB drive to an available USB port on your smart TV. Most modern smart TVs feature multiple USB ports located on the side or back of the TV for easy connectivity. Insert the USB drive and wait for your smart TV to recognize the device.
Step 4: Access the USB Drive Menu on Your Smart TV
Once the USB drive is connected, navigate to the media or input menu on your smart TV to access the contents of the USB drive. Depending on your smart TV model, you may need to use the remote control to scroll through the menu options and select the USB drive as the source.
Step 5: Browse and Select Your Digital Art
Once you've accessed the USB drive menu, browse through the folders containing your digital art files. Use the remote control to navigate the folders and select the artwork you'd like to display. Preview each artwork to ensure it looks as intended on the screen and fits your desired display settings.
With the Samsung Frame TV you can choose to display your art with or without a mat.
Step 6: Customize Display Settings
Before finalizing your selection, customize the display settings to enhance the visual impact of your digital art. Adjust the brightness, contrast, and color settings on your smart TV to optimize the viewing experience and ensure that your artwork looks stunning on the screen.
Step 7: Enjoy Your Personal Gallery
Once you've selected your digital art and customized the display settings, sit back, relax, and enjoy your personal gallery on your smart TV. Whether you're hosting a gathering with friends, enjoying a quiet evening at home, or simply seeking inspiration, your digital art collection will transform your space into a haven of creativity and beauty.
Conclusion
Adding digital art to your smart TV is a simple yet impactful way to elevate your home decor and infuse your space with personality and style. By following these step-by-step instructions, you can easily showcase your favorite artwork on your smart TV, creating a gallery-like atmosphere that reflects your unique taste and aesthetic preferences. So go ahead, unleash your creativity, and transform your space into a visual masterpiece with digital art on your smart TV.
Here are two of the Smart TV’s we have in our home:
Along with this Frame TV:


